The Granny Square Book: Timeless Techniques and Fresh Ideas for Crocheting Square by Square (9 page)
Authors: Margaret Hubert
Tags: #Crafts & Hobbies, #Needlework, #Crocheting

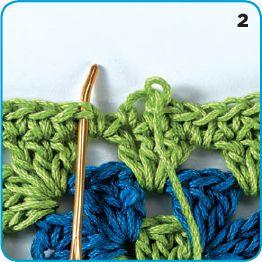
Cut the yarn, leaving a tail several inches long. Pull the yarn through the last stitch and set the hook aside. Thread the tail on a tapestry needle, and run the needle under the beginning stitch, pulling the tail through (2).
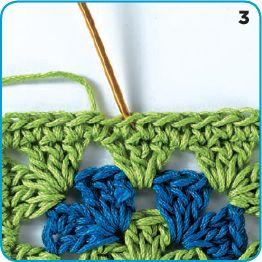
Insert the needle back through the center of the last stitch of the round and pull the tail to the back of the work (not too tightly) (3).
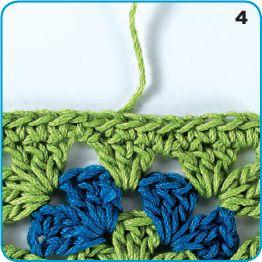
This will join the beginning to the end invisibly (4). Weave the tail into the back of the work.
PICKING UP STITCHES FOR BORDERS
You often need to pick up stitches from the edges of a crocheted piece to add a border. If the edges are sides of granny squares, simply pick up one stitch for every stitch along the edge.
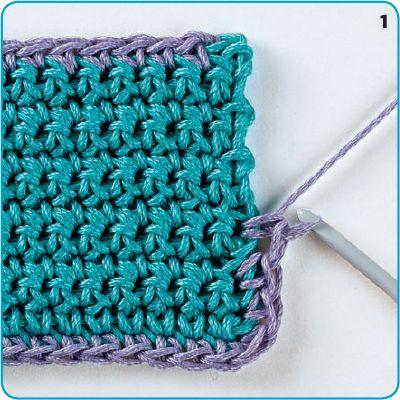
Picking up stitches along row ends of a crocheted piece is a little more complex. The general rule of thumb is to pick up one stitch in every other row for single crochet (1). For instance, if you have worked twenty rows of single crochet, you will pick up ten stitches along the row ends.
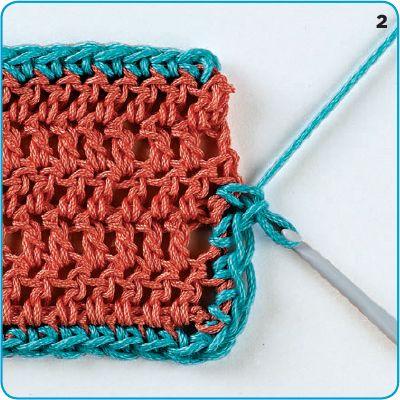
Pick up one stitch for every row for double crochet (2). For instance, if you have worked twenty rows of double crochet, you will pick up twenty stitches. These guidelines work for most people, but not all. Your work must lie flat, and sometimes you will have to experiment to judge how to proceed. If your edges are rippling, like a ruffle, you are picking up too many stitches; if they are pulling in, you are picking up too few stitches.
The best way to get an even edge is to divide the length to be worked into four parts. When the first section is done and lies flat, repeat that number of stitches for each of the following three sections. Work in every stitch of the top and bottom edges. Always work three stitches in each corner to make the project lie flat.
SEAMS
Once you have crocheted all the granny squares for a project, you join them into one large piece using one of several methods. For some methods you sew seams with yarn and a tapestry needle. For other methods, you use a crochet hook. Some might consider this final step of a project to be a chore, but to me, the rhythm of hand sewing is soothing and relaxing.
WHIPSTITCH SEAM
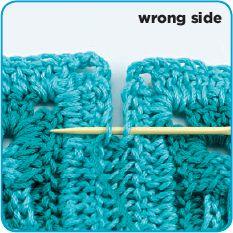
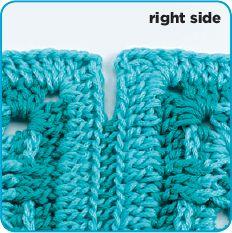
The whipstitch seam works best for sewing straight-edged seams. This method creates a little decorative ridge on the right side of work. Place two squares side by side, wrong side up, aligning the stitches of the outer round. Insert the needle through the top loops of corresponding stitches, bring through and around, and repeat.
WEAVE SEAM
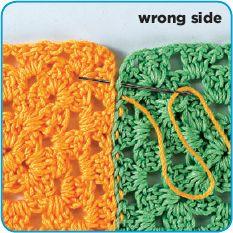
I use this join when I want a really flat seam. Hold pieces to be seamed side by side and, working from the wrong side, insert needle from front to back, through 1 loop only, draw through, progress to next stitch, bring needle from back to front (not over), and proceed in this manner until seam is completed. If you draw through top loop only, a decorative ridge will be left on the right side of work. If you draw through bottom loops, the ridge will be on the back of the work.
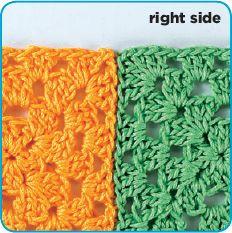
SINGLE CROCHET SEAM
The single crochet seam creates a decorative ridge. Holding the pieces wrong sides together, work single crochet through the whole stitch on both motifs.
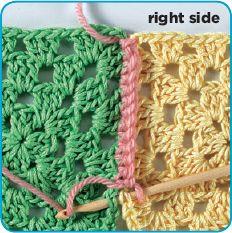
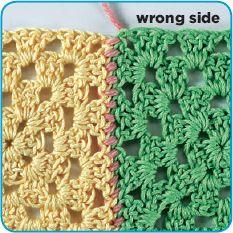
CHAIN JOIN
When the outer rounds of your squares have open spaces, you can join pieces with a stitch pattern that suits the spacing. This decorative join can be worked from either side. Place the pieces right sides together (or wrong sides together), aligning the stitches. Join yarn in one corner through both layers. *Chain 3, skip 3, single crochet through spaces of both layers, repeat from *.