The Everything Guide to Cooking Sous Vide (5 page)
Read The Everything Guide to Cooking Sous Vide Online
Authors: Steve Cylka


These do-it-yourself machines do raise questions and concerns about their reliability at controlling precise temperature over a long period of time. While these may be fun “hobby” machines, purchasing one of the professionally built machines on the market is a much safer way to cook.
Over the last few years, many new sous vide machines have become available that are specifically designed for the home. These cost much less than the commercial machines and have a smaller, sleeker design for the home kitchen. The availability of these machines has made the do-it-yourself option far less appealing. These new store-bought sous vide units are only slightly more expensive than one built from scratch, and they have many advantages. Not only do purchased machines look nicer than anything that could be built at home, but they have also been designed, built, and tested by companies that specialize in this type of equipment. That provides a degree of safety and assurance that is important when cooking food.
A Cooler, a Kettle, and a Thermometer
Easily, the simplest method of creating a sous vide unit is by using a cooler. Also known as ice chests or ice boxes, these portable coolers are insulated to keep food and drinks cold. Whether it is for a picnic, a trip to the beach, or a simple outdoor party, people have used these portable coolers for years. While traditionally used to keep food chilled, it is also possible to use the coolers for sous vide cooking, as the inside can become a large water bath. Using a cooler for sous vide is generally quite simple and it uses equipment most people already own. All that is needed to get going is a kettle, a thermometer, and obviously, a cooler.
There are many different types of coolers on the market. Typically, they are made with inner and outer shells of plastic with hard foam insulation in between. There are also coolers that have an outer shell made of galvanized metal or aluminum, and there are even disposable coolers made of polystyrene foam. An excellent cooler for sous vide is the smaller beer coolers, which are the perfect size for cooking a steak.
To get things started, fill the cooler with hot tap water and set the thermometer in the water. The best kind of digital thermometer to use is one with a long probe and cable. This way, the probe can be inside the cooler, resting in the water, while the thermometer display is outside. Doing this allows the water temperature to be monitored while the cooler lid is closed. It is best to have the thermometer as close to the center of the water bath as possible. If using this kind of thermometer is not possible, then a standard, instant-read thermometer will also work fine. Fill the kettle with water and bring it to a boil. Once the water comes to a boil, pour some into the cooler until it reaches the desired temperature for sous vide cooking. It is helpful to start with the temperature being 5°F–10°F higher than the desired target food temperature since there will be a fast drop once the food is added.

There is no way to guarantee that the temperature is even throughout in a cooler and there are greater temperature swings that will happen as the water cools and is reheated by pouring in hotter water. This may be okay for some shorter recipes like a thin fish fillet or possibly a 1"-thick steak, but chicken, pork, and other long sous vide sessions are not recommended.
At this stage, the vacuum-sealed or zip-top pouches of food can be added to the water bath in the cooler. Cover the lid and monitor the temperature. There usually is a quick drop in temperature immediately after the pouches are added to the water. Whenever necessary, add some boiling water from the kettle to the cooler. One helpful tip is to use a wooden spoon to stir the water every once in a while. This will ensure that the water temperature is consistent throughout the water bath and that there are no pockets of hot or cold water. Any time the water drops 1 or 2 degrees below the target temperature, stir in a bit more boiling water to bring it back up to the target temperature. After cooking the designated length of time according to the chart in Appendix A, check the core temperature when it comes out of the water. If it has not reached the target internal temperature, it should go back in for longer.
This cooler method is definitely not a substitute for using an actual sous vide machine. Using the cooler method requires far more monitoring and manual adjustment than any of the other ways to cook sous vide. There can also be more hot or cold water pockets, since there is neither even circulation within the water nor even heating throughout the unit. Purchasing a sous vide machine can seem expensive if you’ve never cooked using this culinary technique, so the cooler method allows you to experiment with it, taste the results, and decide whether you want to buy a machine.
Vacuum Sealers and Food-Safe Bags
Sous vide
is a French term meaning “under pressure,” so the premise of this cooking technique requires that the food be in a bag with all the air drawn out. This means that as the bag of food is immersed in the temperature-controlled water bath, there is no air in between the hot water and the food. This is extremely important, as any air will impact the temperature and cooking time of the food.
So, in order to cook sous vide you need a way to place the food in a bag and remove all the air. There are a number of different types of products that can do this and they range in price, functionality, and effectiveness.
Standard Suction-Type Vacuum Sealer
Of all the vacuum-sealing methods and machines available, the suction type is by far the most common type used in home kitchens. There are many different suction-type vacuum sealers on the market from many different companies and they are available in well-known stores across the country. On top of that, the bags used are readily available and can also usually be used across brand lines.

While suction-type vacuum sealers struggle with lots of liquid, there are ways to work around this issue. Freeze the marinade in an ice-cube tray. Dump the frozen marinade cubes into the bag with the meat. The vacuum sealer will work great at drawing out all the air and sealing the bag. Add an extra 30–60 minutes to the cook time for the marinade to thaw.
With these types of vacuum sealers the open part of the bag is inserted into a slot and clamped down by an arm. Then the air is drawn out of the bag and it is sealed with a heat strip. These machines can effectively vacuum seal bags of many different sizes. A significant downside to these types of vacuum sealers is that they struggle with liquid. Unable to distinguish between air and liquid, they can suck out all the air and then draw liquid out of the bag. Therefore sealing meat with lots of marinade is not ideal for suction-type vacuum sealers.

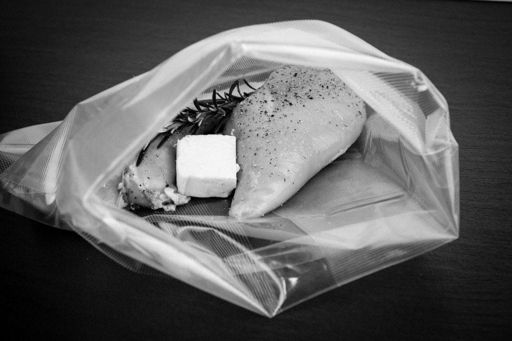
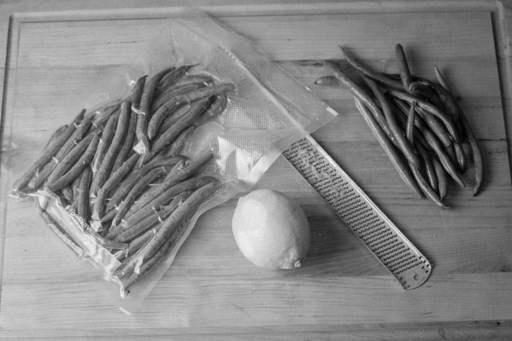
Preparing ingredients in a vacuum seal bag

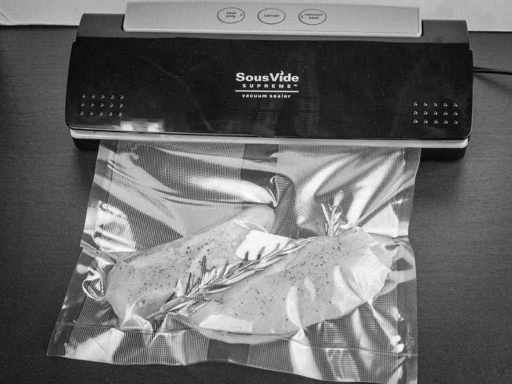
A SousVide Supreme "suction-type" vacuum sealer being prepared to start the seal

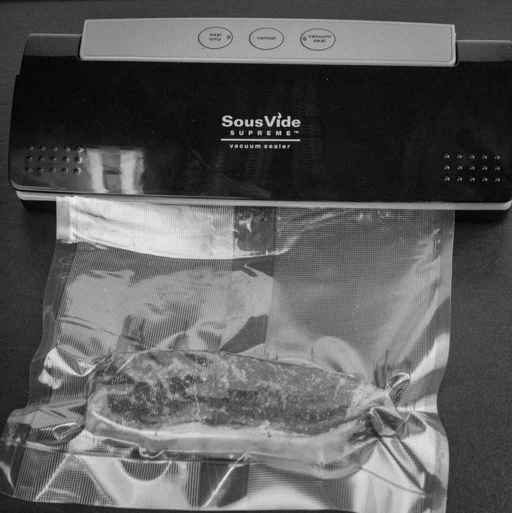
A SousVide Supreme vacuum sealer in progress

Try to place items in a single layer to ensure even cooking.
