The Everything Guide to Cooking Sous Vide (8 page)
Read The Everything Guide to Cooking Sous Vide Online
Authors: Steve Cylka

While it is possible to use food-safe zipper bags, make sure that they are the kind that are safe to be heated for the length of time that they will be in the sous vide water bath. These types of bags are good for recipes that have a fair amount of liquid, like the pickle and relish recipes in this book.
Here are the steps for getting air out of the zipper bags:
- Place the ingredients in a food-safe zipper bag.
- Slowly lower the bag into the water using the water displacement method; the air will escape from the bag.
- Continue to lower the bag until it is about 1" from being fully submerged.
- Once the bag has been lowered, just zip it shut with your fingers.
Once the food has been sealed, it can be placed in the fridge until it is ready to be cooked sous vide. The first two steps (season and seal) can be done in advance of when the food will be cooked. This is advantageous for a dinner party, holiday meal, or other event, as it is possible to prep the food, season it, and vacuum seal it in the morning or even the night before. Then, closer to dinnertime, the bags are ready to go and can be submerged in the water bath when it is time for them to start cooking.
Set
The next step in sous vide, after seasoning the food and sealing it into a bag, is to set the water bath to the desired cooking temperature. Use the
Time and Temperature Charts
, found in Appendix A, to determine the proper temperature for setting the sous vide machine. While cooking meat in an oven uses pretty standard temperatures (often 350°F or 375°F), sous vide is much more precise. The temperature of the water is set to be the desired internal temperature of the meat. Therefore, if you like your steak medium-rare, then a temperature of 134°–140°F will cook the steak so it is pink, just the way you like it. If you are cooking green beans, then setting the sous vide machine to a temperature of 183°F will be hot enough to cook the vegetables so they are tender, yet have a little snap to them.

Depending on the cooking temperature, it may take longer for the water to heat up than it does to prep the food, season it, and vacuum seal it in the food-safe bag. If you will be bagging the food just before it goes into the sous vide water bath, consider setting the temperature and getting the sous vide going at the start so that once the food is sealed, the water will be hot and ready to go.
Sous vide is all about precision, and the temperature of the water can have an enormous impact on the food, depending on what is being cooked. For example, +/–1°F can really change the texture of a soft-boiled egg and the creaminess of the yolk. In the same way, there is a great deal of personal preference regarding the texture and taste of meat, in particular. Tasting a chicken breast or salmon cooked at a lower temperature for longer may amaze some people, while others prefer the texture of these meats cooked at a higher temperature so they are closer to the traditional way.
It is essential to make sure that the water has reached the set temperature before adding the bagged food into the water bath. Since sous vide cooking is all about precision, placing food into the bath as the water is still preheating disturbs the whole process, and you cannot be sure that the food is cooked when the time is done.
Swim
Once the water bath has finished preheating and comes to the set temperature, it is time to drop the bags into the water. Gently drop them in, so that water does not splash around. It is possible to place more than one sealed bag of food into the water bath and, depending on the size of the tank/container, it is possible to have multiple bags of meat all cooking at once in the same sous vide water bath. Some restaurants have very large water baths with many steaks, racks of lamb, or other meats cooking away.
There are a few tips and other things to consider:
- Make sure that the bags are fully submerged in the water. Try to leave at least 1" or more of water between the top of the bag and the surface of the water bath. If some of the bag is sticking out of the water bath during the cooking session it can be extremely dangerous from a food safety standpoint.
- Make sure that water is surrounding all the food in the bag. This means that the food should not be pressed up against the side of the tank or pot and that multiple bags should not be touching or pressed up against each other. For example, if two steaks are packaged separately, in two different bags, and both are in the water bath, make sure that the steaks are not resting side by side against each other.
- Consider using special sous vide racks. These racks are great for holding bagged food steady and secure under the water. It is especially advantageous when cooking multiple bags of food at once because the rack will hold the bags in place and ensure that there is a channel of water in between the bags of food.
- This may be obvious, but make sure that if cooking multiple bags at once that they are all supposed to be cooking at the same temperature.
Sear
After the meat or other food has cooked the allotted length in the sous vide water bath, it is ready to come out of the bag to be served. While sous vide does an amazing job cooking meat so that it is tender, when it comes out of the bag it can look limp, have a grayish color, and have a soft wet exterior. This is definitely not the desired texture or even visual appearance for most cooked meats.

Do not walk away while searing meat. Since searing is to be done at very high temperatures, the searing happens quite quickly, and depending on the cut of meat, is finished anywhere from 30 seconds up to a maximum of 2 minutes. Leaving the meat in the hot skillet too long can ruin all that hard work done in the sous vide.
To solve this issue, an excellent way to “finish” the meat and get it ready for plating and serving is to quickly sear the outside. Searing the meat will create a Maillard reaction that will give it the classic browned appearance of grilled or seared meat. On top of the visual impact, searing the meat will improve the texture and taste immensely.
The first step in searing the meat, once it has been taken out of the bag, is to pat it dry with a paper towel. Having a dry surface on the meat is an extremely important aspect to effectively creating a nice seared outer surface. If the meat is wet, it will almost steam instead of searing, so give it a quick pat with a paper towel before it is seared.
Here are a few different ways to sear meat:
- The most common way to finish off the meat is to sear it in a hot skillet. Simply heat up a skillet, over high heat, with 1–2 tablespoons of oil so that it is very hot. The oil needs to be a kind that has a high smoke point: peanut, sunflower, corn, vegetable, and safflower oils all work fine. Once the oil is hot and shimmering (it may even start smoking a little bit), gently lay the steak or other meat in the pan. Place the meat in slowly as this will both prevent the oil from splattering and keep the meat from sticking to the pan. After about 1–2 minutes, flip the meat over and sear the other side.
- Another common way that sous vide enthusiasts finish off the meat is to sear it using a kitchen torch. The flame from a kitchen torch gets very hot and it is an effective way to get a nice charred look on the outside of the meat. It finishes the meat so that it looks like it was cooked on the grill but does not continue to cook the inside of the meat.
- Another method for searing meat is to use the oven. Setting the oven to broil can put a lot of heat in the oven and it can be an excellent way to put a sear on the surface of a bunch of pork ribs. It is an excellent way to finish off pork carnitas.
- The grill is one more method for searing meat. To use the grill, make sure that it is extremely hot and that there has been enough time for the grill grates to heat up. Brushing down the grill grates with oil will help put those appealing grill marks on the meat. Be careful though: only 1–2 minutes is needed per side, as any longer can cause the meat to cook further.
Once the meat has been seared, it can be seasoned with a little bit of salt, pepper, or other spices before being plated and served. Also, using a sauce, compound butter, or glaze can further enhance the flavor of the meat.

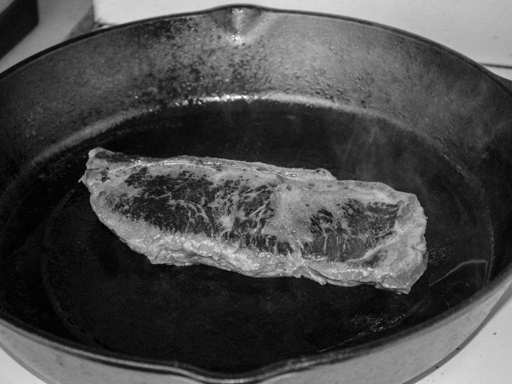
Searing steak in a cast-iron skillet is a great way to create the Maillard reaction and caramelize the outside of the meat.

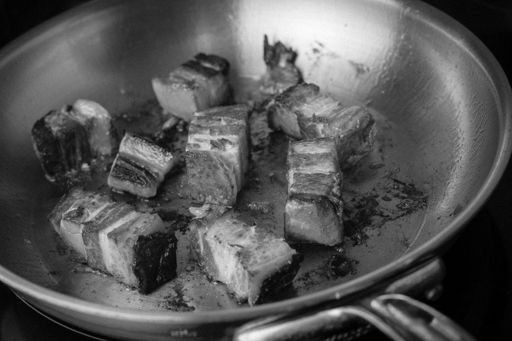
Quickly sautéing pork belly in a nonstick skillet will crisp the edges and enhance the flavors.

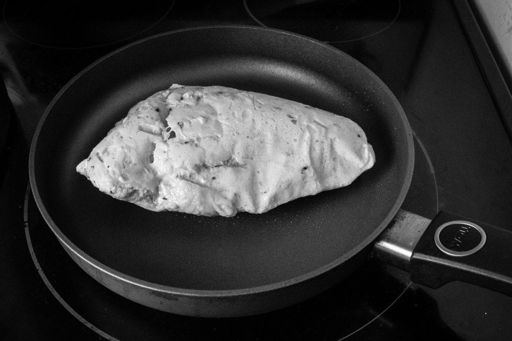
Sear meat carefully in hot oil to prevent splattering.
Food Safety
Anytime food is involved there is a concern about food safety. It is important to take care regarding what you consume, because food-borne illnesses can greatly impact your health and, in some extreme cases, be fatal. Knowledge, and taking proper precautions, is the best way to guard against food-related health concerns.
Plastic and Food-Safe Bags
In this day and age of people moving away from plastic and using glass or stainless steel more often for storing or cooking foods, it is understandable that questions and concerns arise regarding the use of plastic bags. Not only is the food vacuum sealed in the bag, but it is also cooked in the bag, sometimes for hours. Look around your kitchen and you will realize that plastic is everywhere. We use plastic with food regularly, so this is not something unique to sous vide cooking. Food is packaged in bags all the time, including meat, vegetables, condiments, juices, and more.